 |
|||
 |
|
After another few hours of trace, cut and paste, I have completed the base elevation levels for the Gettysburg map. Doubtless experts on the battle field will find plenty of faults with it, but allowances should be made that this is a game board first and foremost! I have tried to capture the feel of the rolling hills, and my decision to use “relative elevation” certainly made for a much more manageable project. I did learn a few key lessons which I will apply to my next pocket battlefield project:
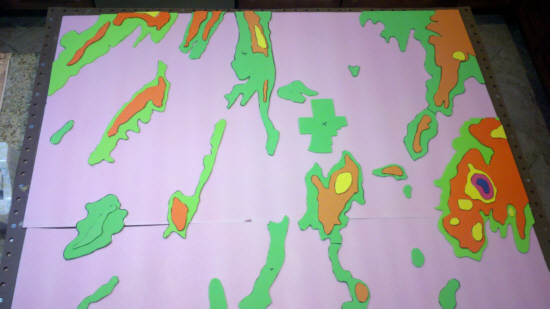
Well, now, time to take a look at my handiwork! Here is a view of the board showing all of the northern part:
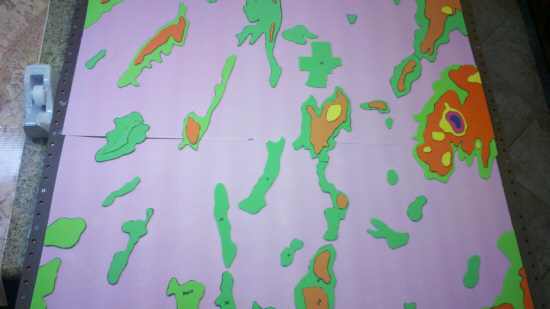
Here is the same view, just showing all of the southern pieces glued in place:
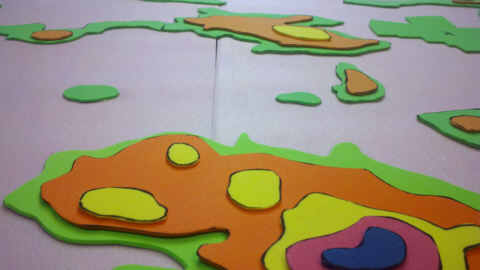
And finally, a perspective shot. The view from atop Wolf Hill, looking toward Cemetery Hill in the distance:
The next step is to seal all of the pieces. My plan is to put a bead of white glue around the edge of each cut out foam piece. Then, when that is dry, spray the entire board with a coat of scenic cement. Once that is dry I’ll prime the whole thing with ordinary house paint style primer. My thinking right now is that I’ll then apply a light brown base coat. Over that I will trace out more key terrain features - starting with roads, rivers and streams. I’m also removing the foam cutout for the town to get it on ground level. I didn’t like it looking like it was on stilts by having a foam cut out for the town. I’ll paint the rivers and streams blue, the roads light tan. Then I’ll fill in the entire board with a base coat of medium green. To finish off the board I’ll simply section it off, and then start putting in all the fields, woods, etc. I’m still undecided on how to model buildings. I’d like to mark various farms, and will probably make a small Lutheran Seminary out of beads (it will be out of scale, but then so will my soldiers!). But that’s a few weeks down the road. Up next, I’m gonna get my glue on! |
|
[Home] [How To] [Gettysburg: Pocket Scale] [Final Elevations] |
 |


